Upgrading the version of your libraries can be scary. It’s even worse when you have a huge project that depends on a framework like Ember.js and a client that will probably kill you if anything goes wrong.
On the other hand, as devs, we always love new features, performance improvement and why not also some god-sent fix that might solve that horrible bug that you couldn’t solve.
How to upgrade your version
First things first: We were in version 2.16, so if you are behind that you will probably face some deprecations that you’ll need to solve. For the sake of simplicity, this guide will not cover that case.
There’re basically two ways of doing the upgrade
- Compare it using ember-cli-diff, which is a great tool made by the guys of MVDWG. It has a really nice interface that allows you to see the differences between two of the versions. You can download the patches and run them, or you can go and edit your files.
- Another really cool tool that is now being implemented into ember-cli as the out-of-the-box utility for upgrading ember is ember-cli-update, and this is what we’ll be using here.
Running ember-cli-update
Be sure to be at the root of you project and that your git working directory is clean
- Global install: npm install -g ember-cli-update
- Run (see more options): ember-cli-update
It will fetch the latest version and will compare it to your project; making the necessary file changes. If everything goes ok, you will end up with a bunch of modified files…

And also some conflicts to solve :-)

After you solve your conflicts, you may run npm install to download the new packages
Solving ESLint errors
If you are like us and use a linter (if you don’t, please do), you’ll end up with many errors/warnings when running your application.
✖ 1066 problems (1066 errors, 0 warnings)
Most of those errors in our case, I bet also in yours, were because of the ember/new-module-imports rule.
Since RFC #176 Javascript Modules was accepted and merged early last year, amongst other things, the way we import libraries in ember was changed substantially, enabling tree-shaking which prevents unused code from being packed in your build. This reduces your build size, as well as the loading time of your application, so I wouldn’t recommend you to just ignore the warnings.
Awesome! But I don’t want to change everything by hand!!!
Here’s where ember-modules-codemod comes to play.
This codemod uses jscodeshift to update an Ember application to import framework code using module syntax, as proposed in RFC 176: JavaScript Module API. It can update apps that use the global Ember, and will eventually also support apps using ember-cli-shims.
Edit 10/2018
Now you can also use ember-cli-update which will download and run all available codemods for your version. Neat huh?
$ ember-cli-update --run-codemods
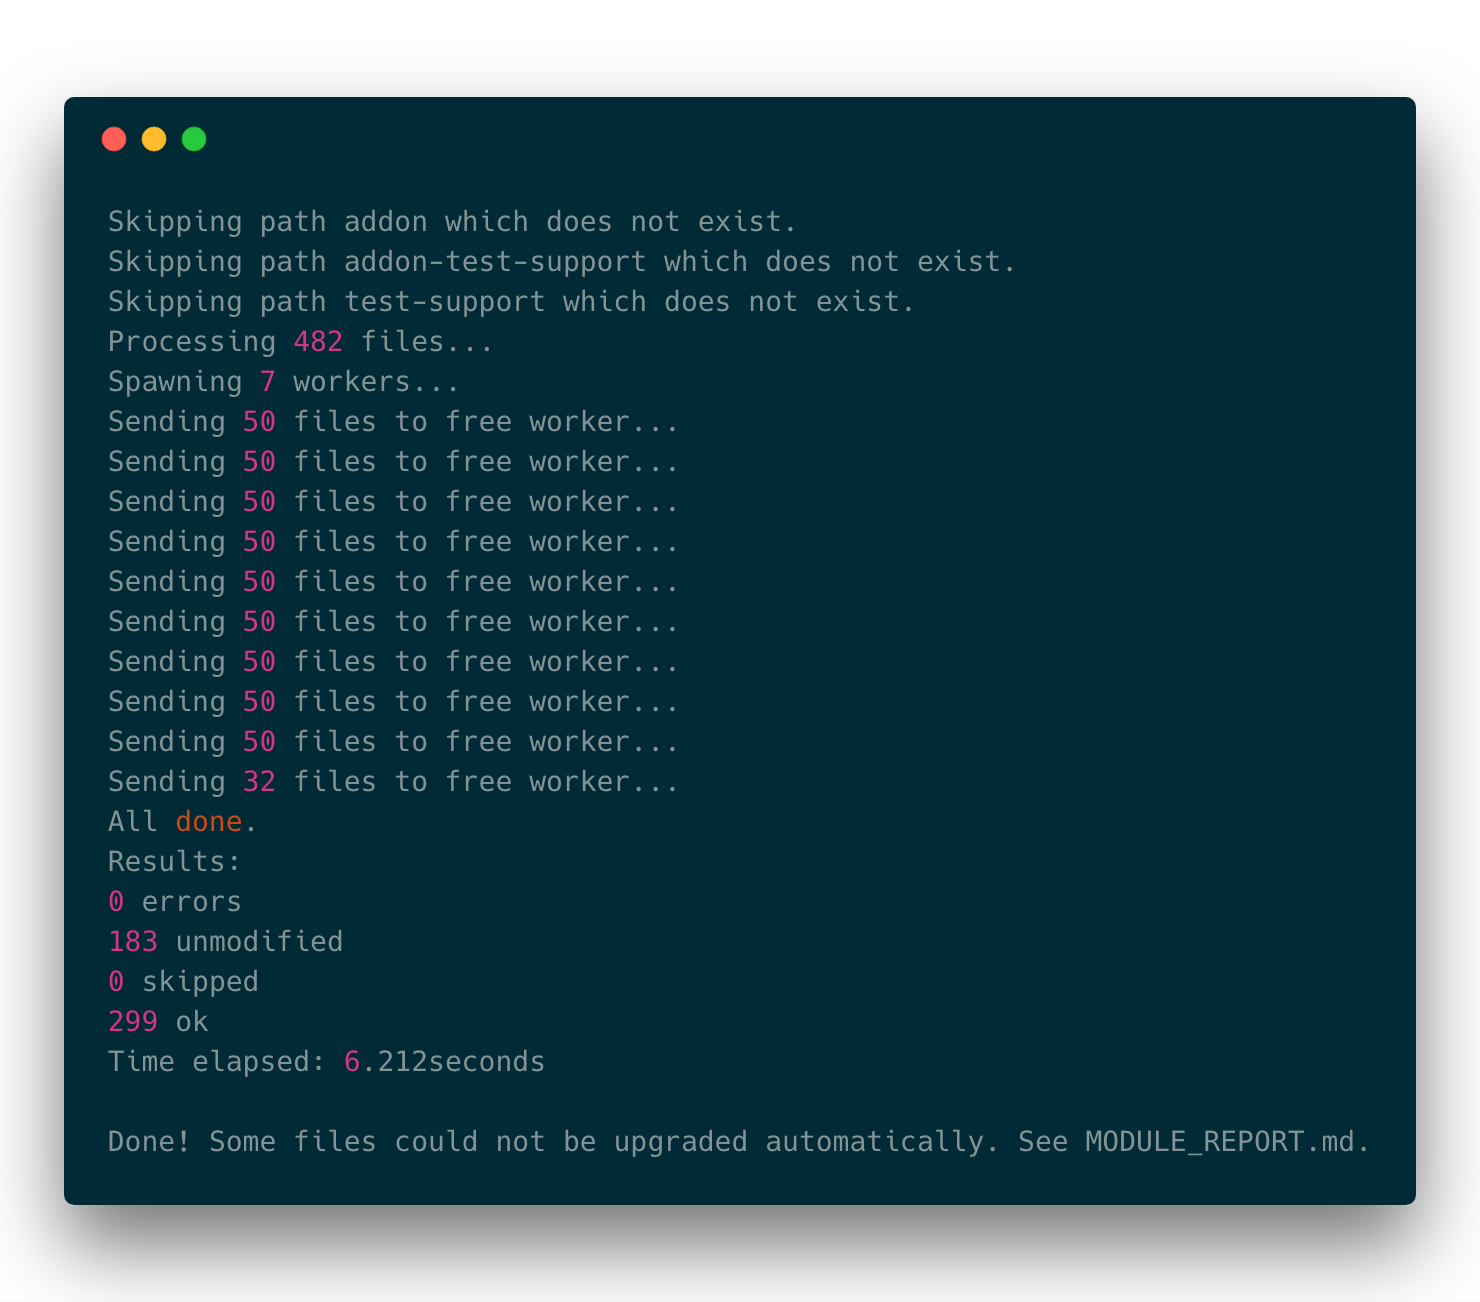
Or just run the modules codemod
$ npm install ember-modules-codemod -g$ cd my-ember-app$ ember-modules-codemod
Or if you use npx
$ npx ember-modules-codemod

Check MODULE_REPORT.md to see what couldn’t be changed automatically
You can now run ESLint again and you’ll see most, if not all, of the errors gone.
Congratulations, you have successfully upgraded Ember!
At this point, you can run your application and test if everything works as expected. Good luck!
Extras
You might run into lint errors of the kind ember/avoid-leaking-state-in-ember-objects and here’s a cool post that talks about it and gives you options for solving them.
Are you looking for a passionate team that can help you envision, design, and build amazing products? Use the link 👇 to schedule a call.

